


What is a Roof Tarp or Blue Tarp?
A comprehensive guide:
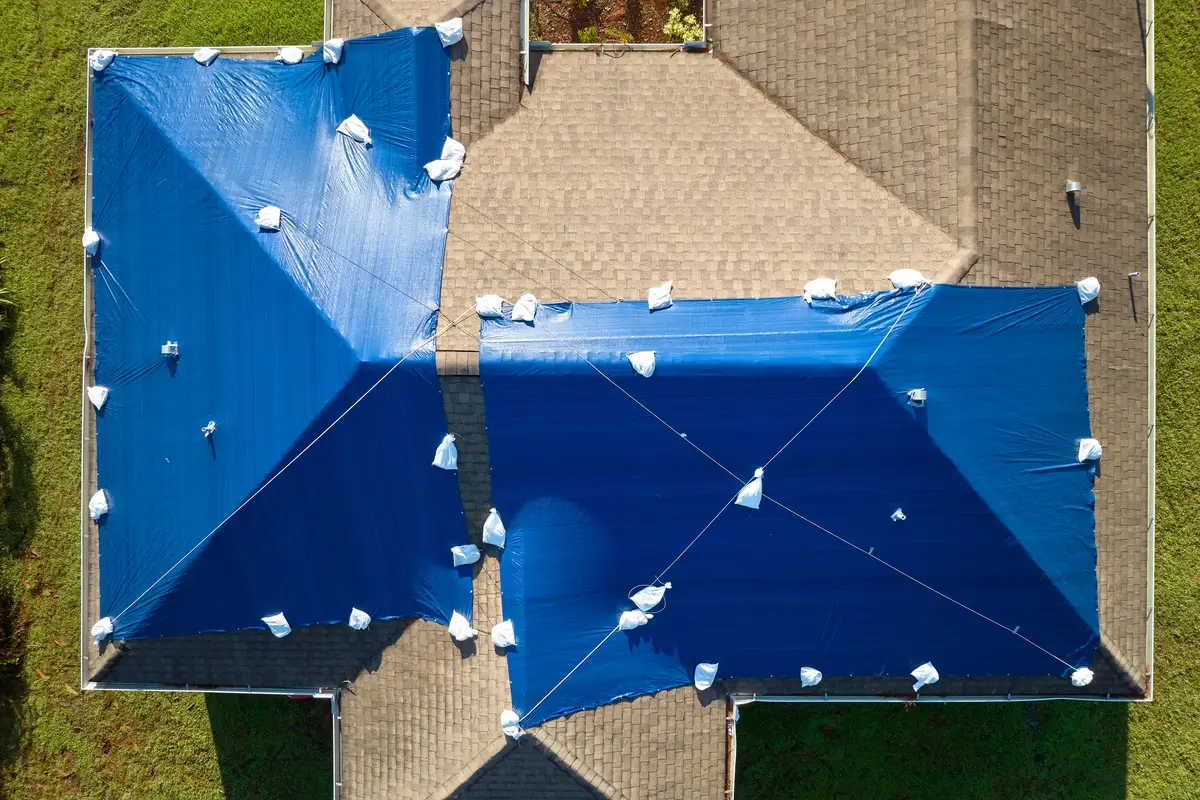
A roof tarp, often called a blue tarp, is a waterproof material made from polyethylene or vinyl. It’s commonly used to temporarily stop roof leaks. Available in various sizes and colors, the term “blue tarp” is popular due to its frequent use in this color choice for roof repairs.
Usually made from heavy duty materials, to endure harsh weather conditions and protect preserve your property from further damage, is without a doubt, the best remedy for roof damage protection.
A temporary roof tarp fix is designed for short-term use, typically around three months, depending on the material, application, and weather conditions. Be certain to follow thru with a proper roof leak repair, as soon as possible.
Looking for Roof Tarp Services in Orlando? Visit our updated Orlando Roofing page for the latest emergency roof tarp solutions.
Two Simple Ways to Fix a Roof Leak
The easiest way to stop a roof leak is by using a roof tarp, which can be installed in two methods: non-penetration and mechanically attached.
Depending on your roof type-whether it’s an asphalt shingle roof, tile roof, metal roof, or even a flat roof-the application may vary for better protection and installation.
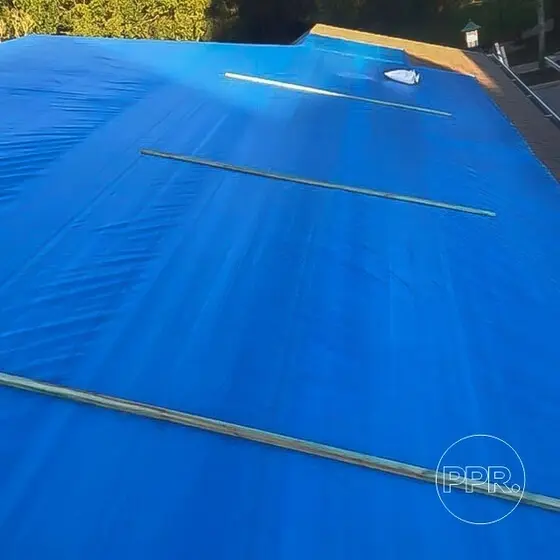
Mechanically attached method
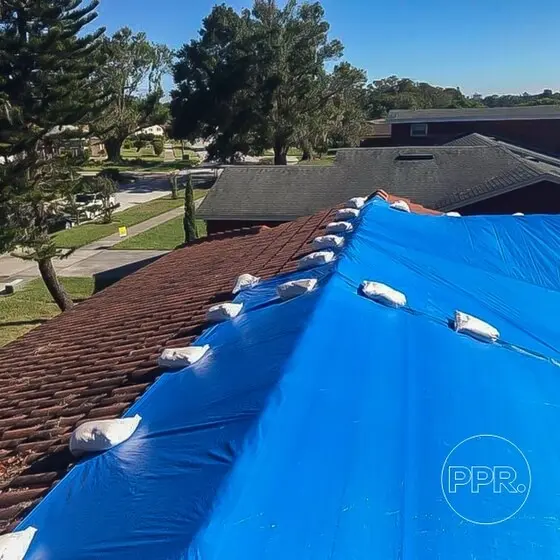
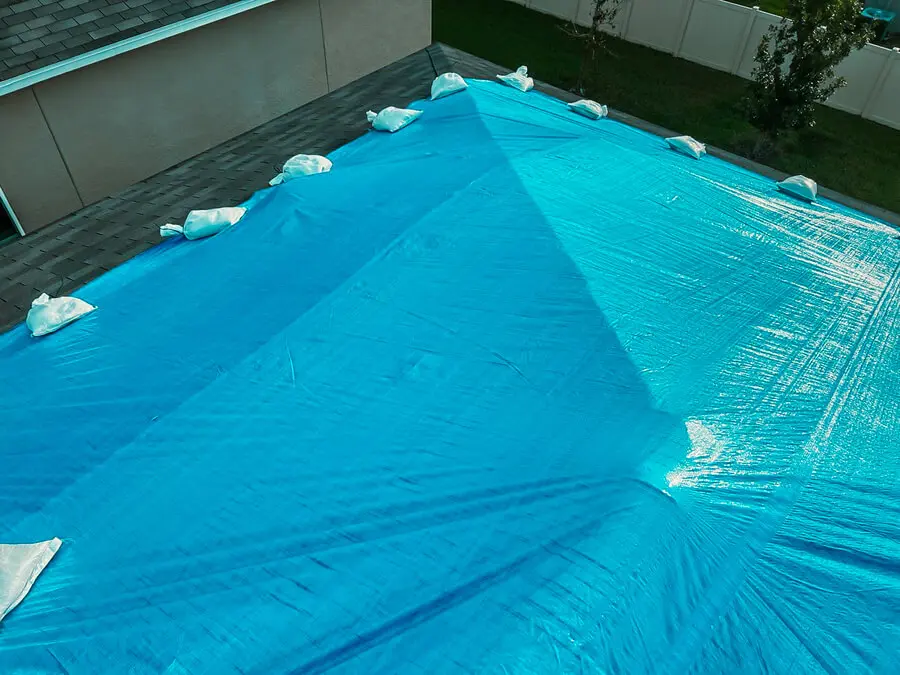
Non-penetration method
How to Install a Roof Tarp
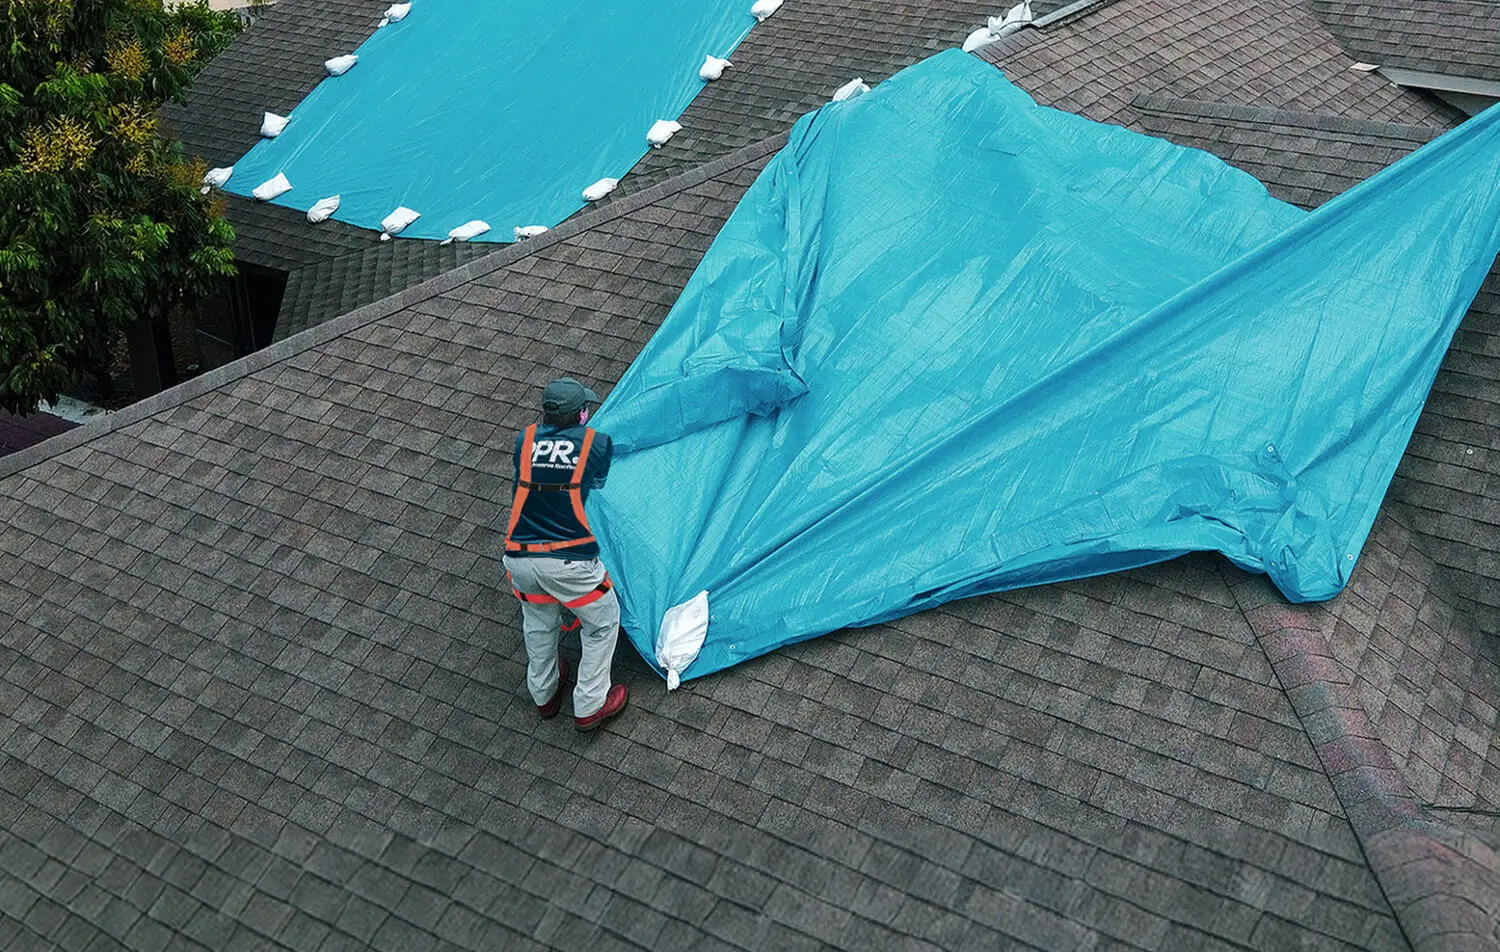
The best way to temporarily fix a roof leak is by using a non-penetrating roof tarp system, suitable for most roof coverings and pitches. This method avoids further damage to your roof and is preferred for insurance claims, allowing adjustors to easily investigate damages without the issues caused by penetrating nails or screws. Protect Preserve Roofing specializes in this method, for emergency roof tarping services.
Step-by-Step Installation Guide
To install a roof tarp using the non-penetrating method, you’ll need a tarp, sandbags, and a ladder:
How to Install a Roof Tarp
The best way to temporarily fix a roof leak is by using a non-penetrating roof tarp system, suitable for most roof coverings and pitches. This method avoids further damage to your roof and is preferred for insurance claims, allowing adjustors to easily investigate damages without the issues caused by penetrating nails or screws. Protect Preserve Roofing specializes in this method, for emergency roof tarping services.
Step-by-Step Installation Guide
To install a roof tarp using the non-penetrating method, you’ll need a tarp, sandbags, and a ladder:
1. Use a suitable ladder that extends at least three rungs above the roof line.
2. Secure the bottom of the ladder depending on the ground type – flat for solid ground or inclined for dirt surfaces.
3. Fasten the top of the ladder with a bungee cord or rope if placed against a gutter system.
4. Have another person assist you for safety and handling materials.
5. Identify the water entry point, place the tarp over the ridge line, and cover the damaged area.
6. Secure the tarp with sandbags attached to each grommet.
7. Add sandbags one at a time as you open the tarp and stretch to its desired location, working from one side to the other.

For best results, hire a licensed roofing contractor like Protect Preserve Roofing, for emergency roof repair. Tarp installation can be complex and risky.
Advantages of a Non-Penetrating Roof Tarp Installation
- Suitable for most roof coverings.
- Easy removal for insurance claim documentation.
- Avoids mechanical damage.
- Ideal for tile or metal roof coverings.
Disadvantages of a Non-Penetrating Roof Tarp Installation
- Often unsuitable for high-pitched roofs.
- Can be displaced by strong winds depending on location and weather.
- Requires a larger tarp to cover the ridge line.
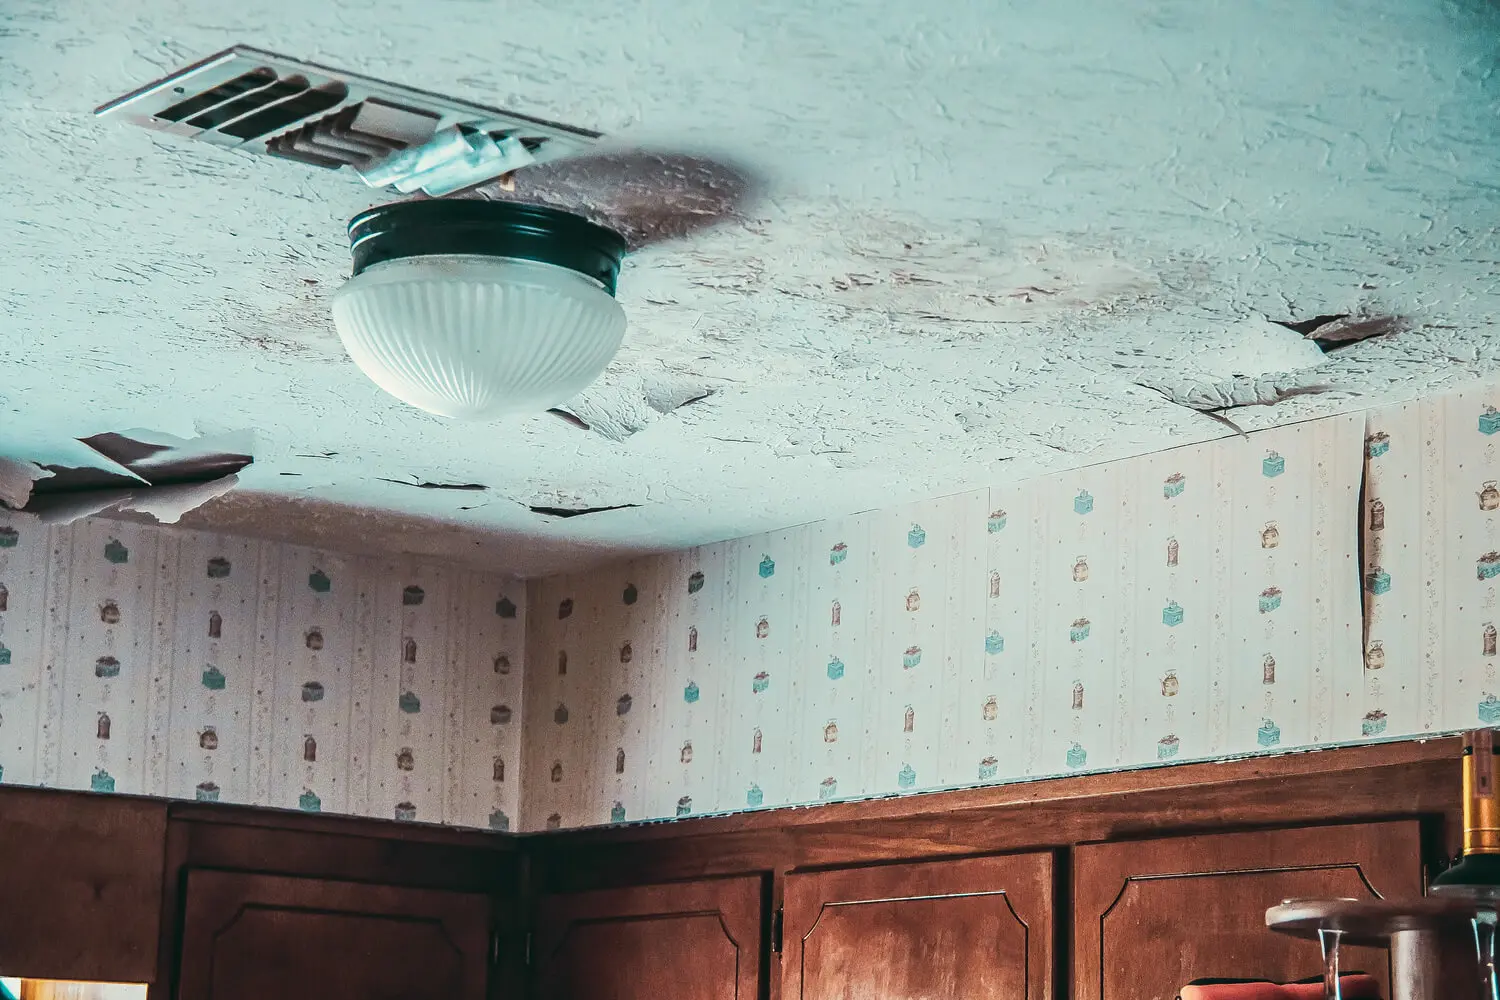
What to Do with a Roof Leak?
Act quickly to prevent further damage! Delaying repairs can lead to extensive damage, including rotting wood decking, compromised rafters, wet insulation, and mold growth. Prompt action helps avoid being seen as negligent by insurance companies, which could lead to claim denials or policy cancellations.

Will My Insurance Company Pay for My Roof Tarp?
Coverage for roof tarps depends on your insurance policy. Often, insurance companies cover tarps as they prevent further damage. However, every case is unique, so consult with a lawyer, insurance agent or a professional adjustor for precise information.
Cost to Tarp a Roof
The cost to tarp a roof varies based on several factors:
1. Roof type
2. Number of stories
3. Location
4. Roof pitch
5. Tarp size
6. Emergency or non-emergency
7. Day or night service
8. Residential or commercial property
9. Installation method (mechanically attached, non-penetrating, or shrink wrap)
A basic tarp installation may cost around $800, while complex installations, especially with shrink wrap, can go up to $5 per square foot. This price reference is based on services provided by a licensed contractor.

We suggest having a frank conversation with your roofing contractor of choice, to better understand your situation, before services are contracted, will help you prevent unpleasant surprises.